1-At first, please check if the tablets and the server are in the same network.
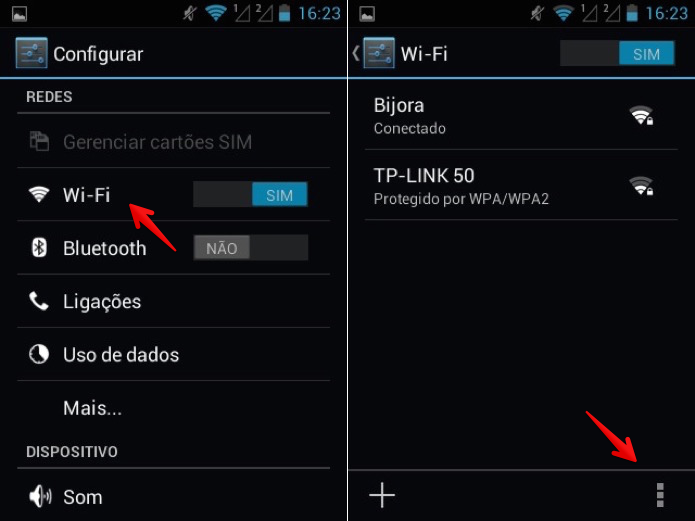
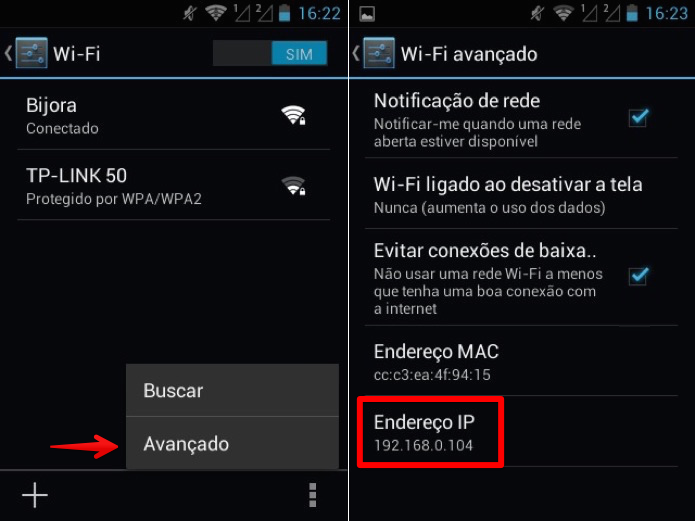
2-For that, will need to check the IP address in both of them. To check it on the tablet, please open the WIFI options in the tablet and after that on the Advanced options button (normally it looks like three dots aligned vertically).
2.1-Select the “Advanced” option and you will see the IP address. In this case, it is 192.168.0.104.
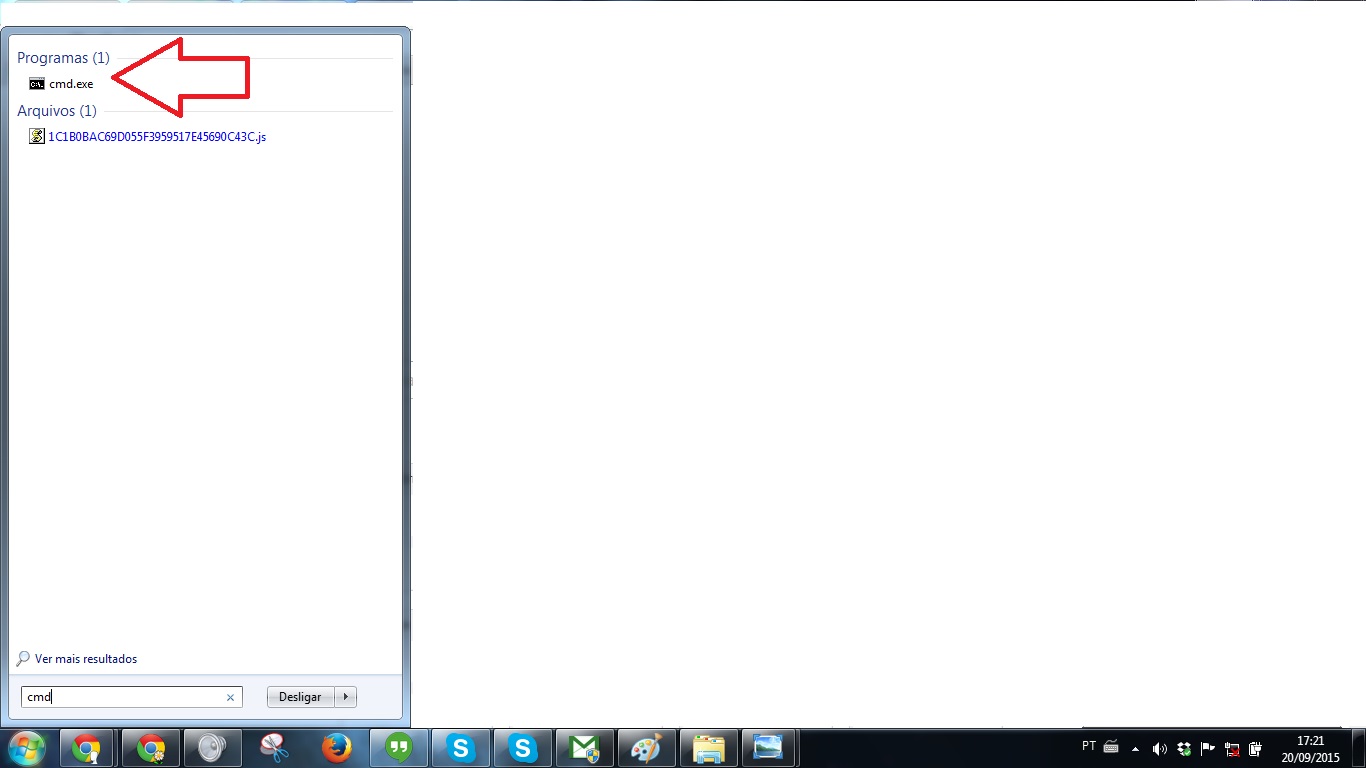
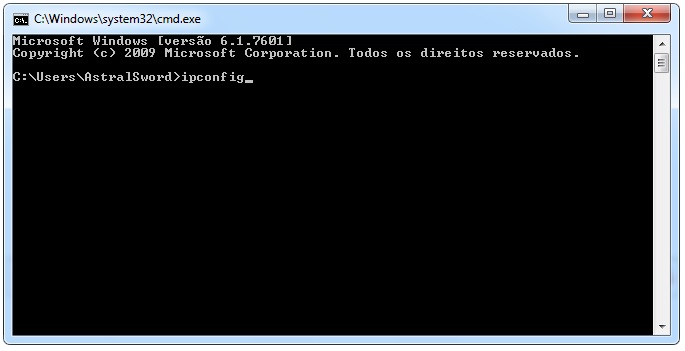
3-To check it on the server PC, please click on the Start button, and search for the name “CMD”. After searching, open the program “cmd.exe”.
3.1-Inside the black screen, type down “ipconfig” and type ENTER.
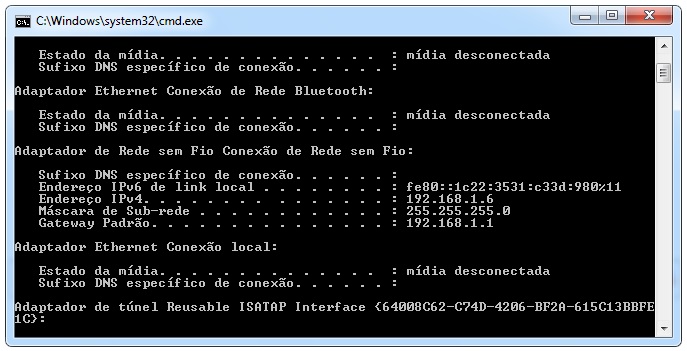
3.2-The IP address will be the number 192.168.1.6, in the IPv4 line.
4-In this case, they are NOT in the same network. For them to be, they should have only the fourth number different from the rest.
For example: 192.168.0.104 and 192.168.0.105, or 192.168.1.6 and 192.168.1.15
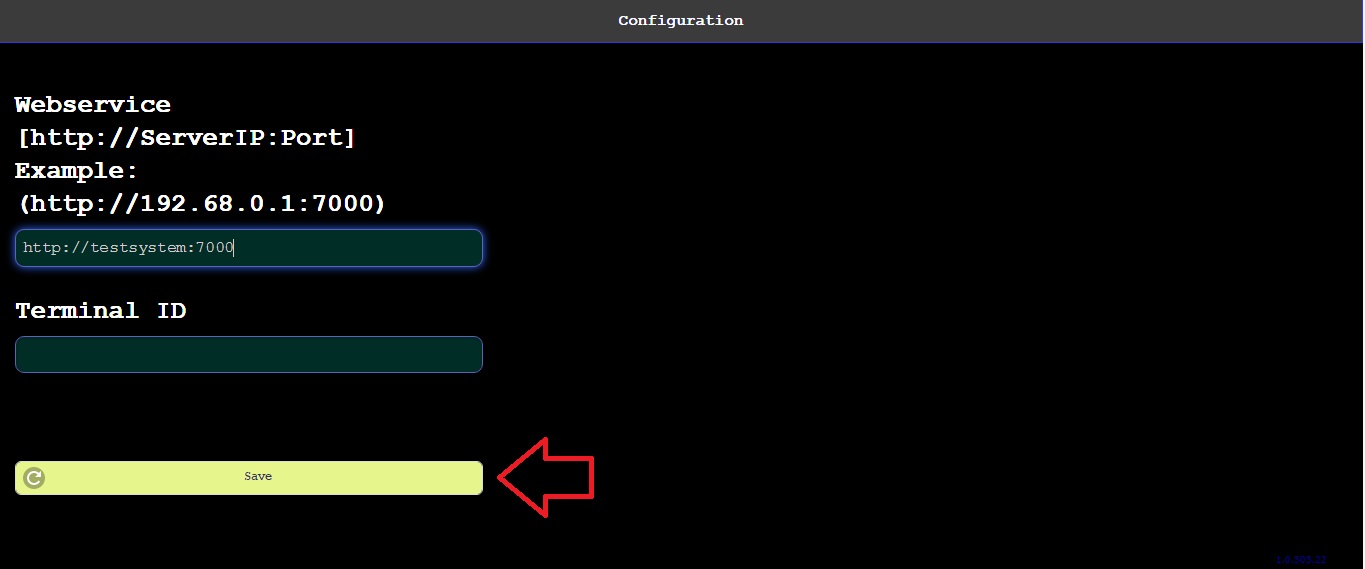
5-In case they are in the same network, you will see the screen below when you open the POS app:
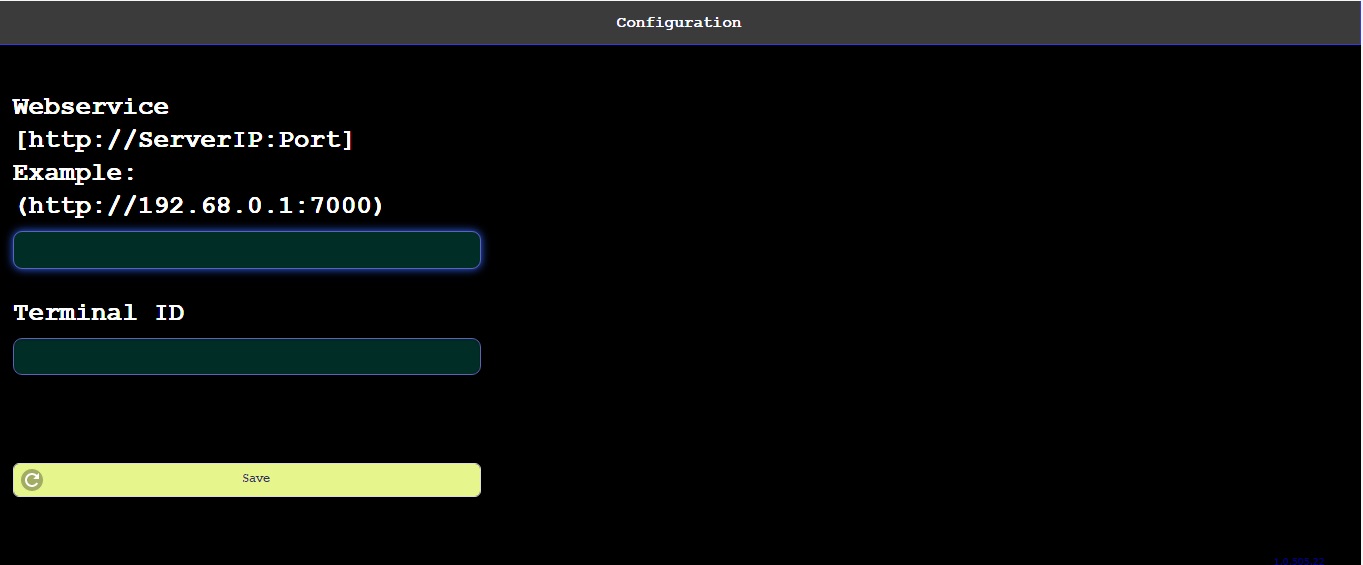
6-You should type down the same address you use to access the system in the server.
PS: Don’t forget to take out the / off the ending. If you put the address https://testsystem:7000/ it will not work. You should just put https://testsystem:7000.
When you finish the adjustments, click on the SAVE button and the system should open normally.