1-Go to File->Team and click on the “ADD NEW” button.
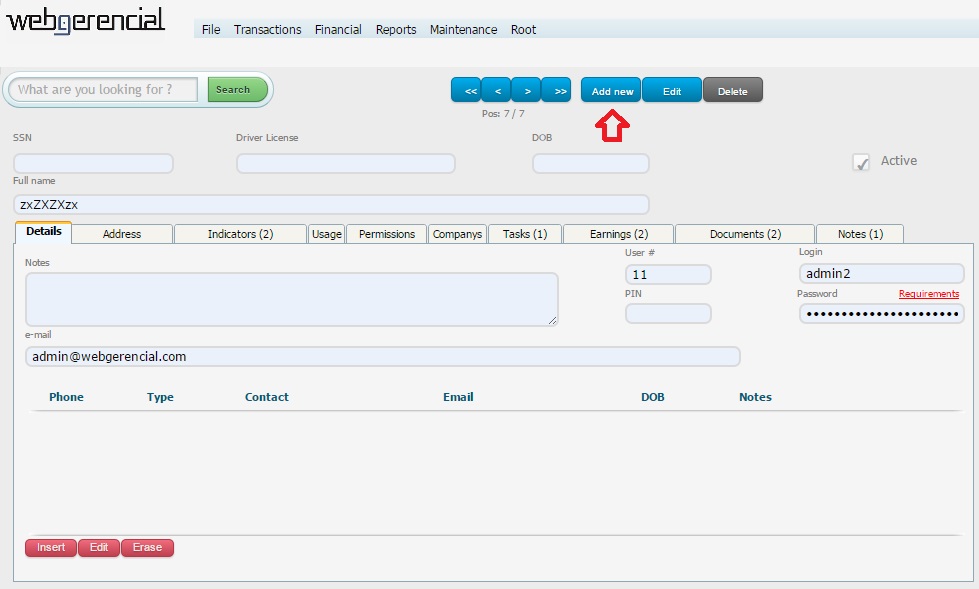
2-Fill all the fields as complete as possible (except User # and PIN) and click on the “SAVE” button.
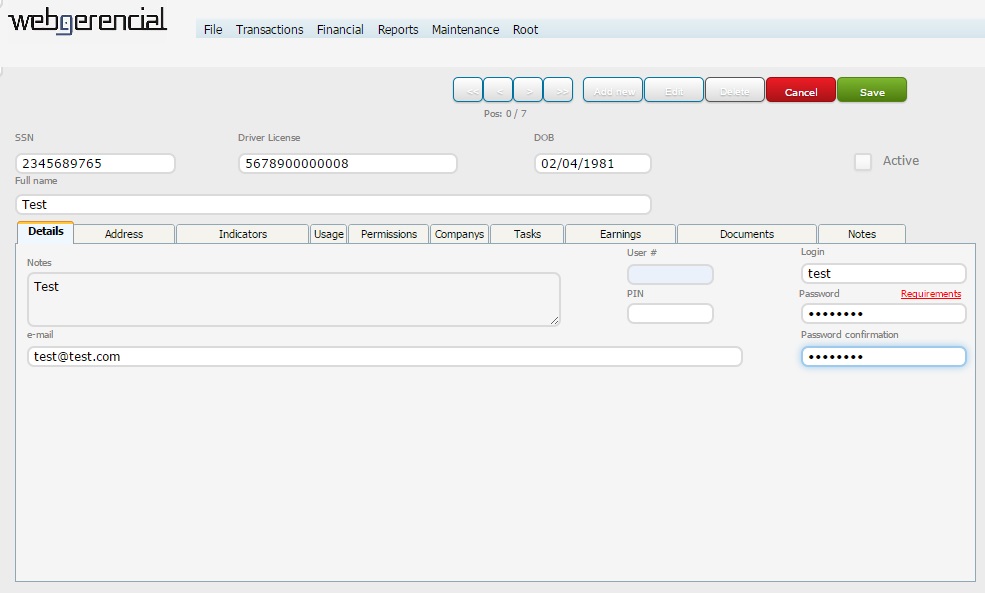
3-After you effectively register the user, you will be able to add more information to him/her.
Click on the blue “EDIT” button. After you add the missing information, click on the “SAVE” button.
Note that the User # was generated, and now you can add the PIN password. These will be used to use the system in the restaurant/market mode, while the Login and password fields are destined to be used on the backoffice mode (the mode being seen on the screenshots).
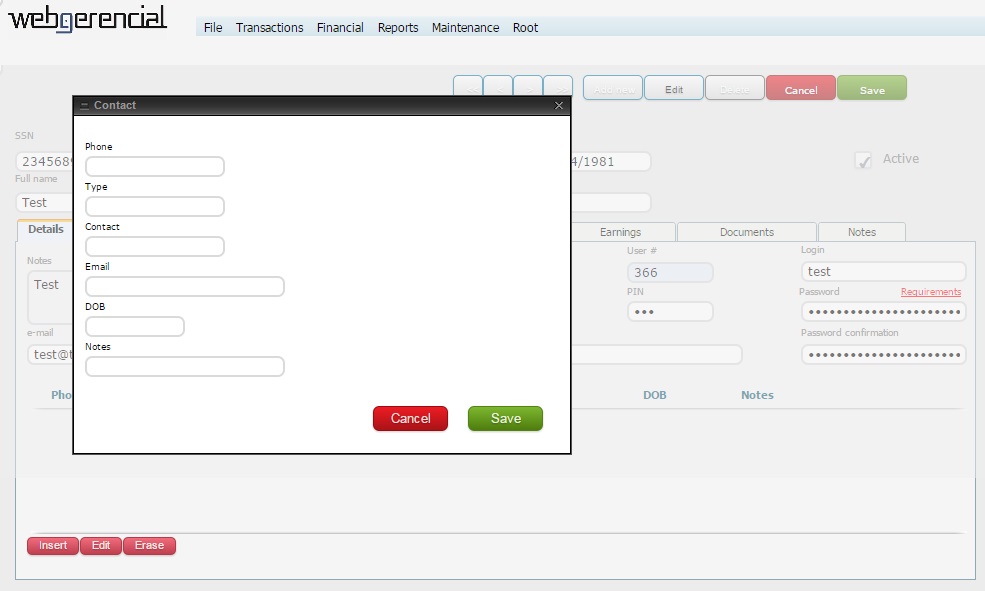
4-In the Details tab you can add contact information to this user by clicking on the pink “INSERT” button. Fill the needed fields and click on the “SAVE” button.
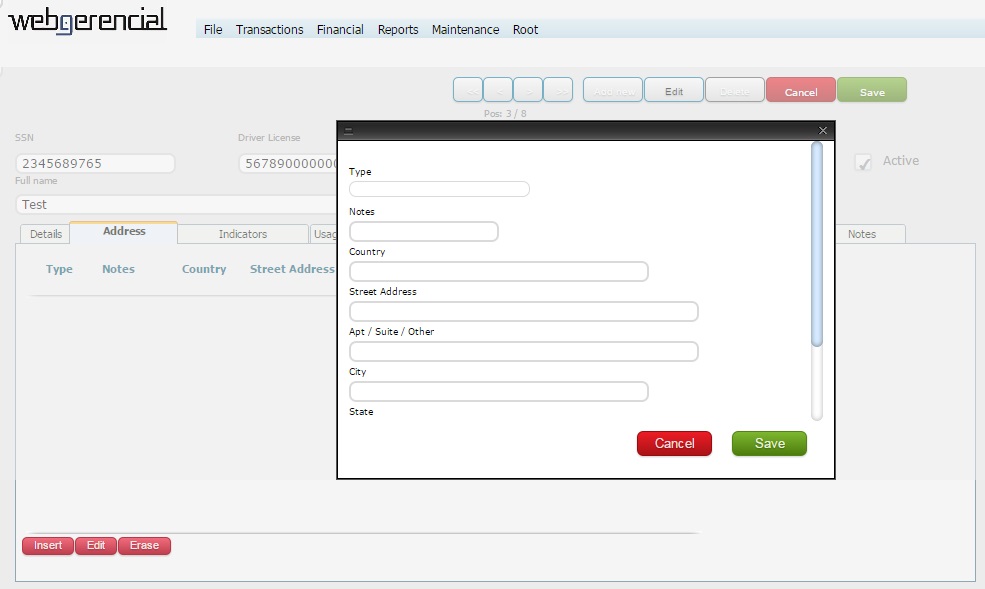
5-At Address tab you can add an address to the vendor by clicking on the pink “INSERT” button. Fill the needed fields and click on the “SAVE” button.
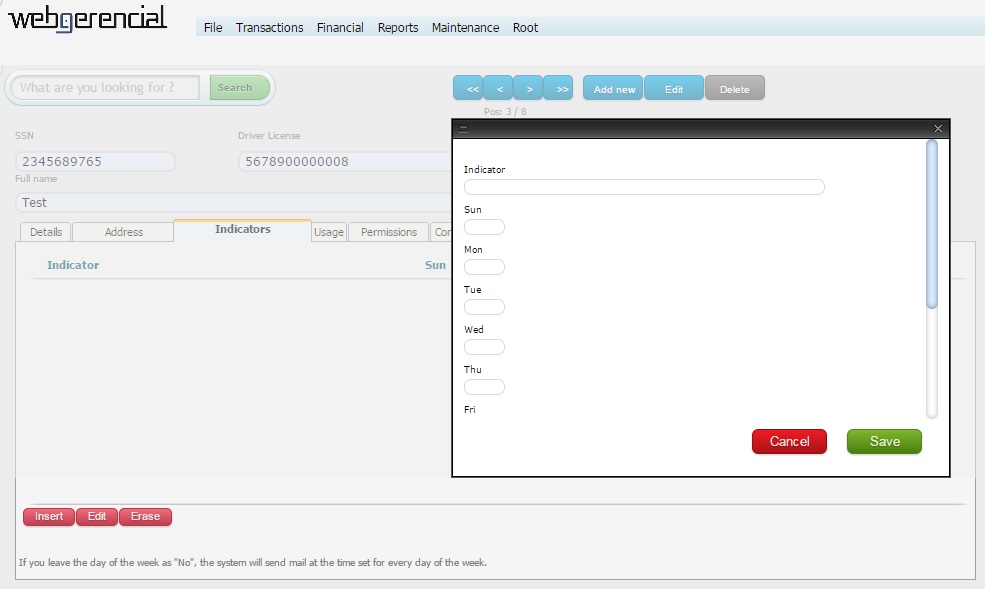
6-At Indicators tab you can add quick reports to arrive everytime you login in the system and/or by e-mail.
You can choose which report, the time of the day and which days of the week you want to receive these quick reports.
To add these, click on the pink “INSERT” button. Fill the needed fields and click on the “SAVE” button
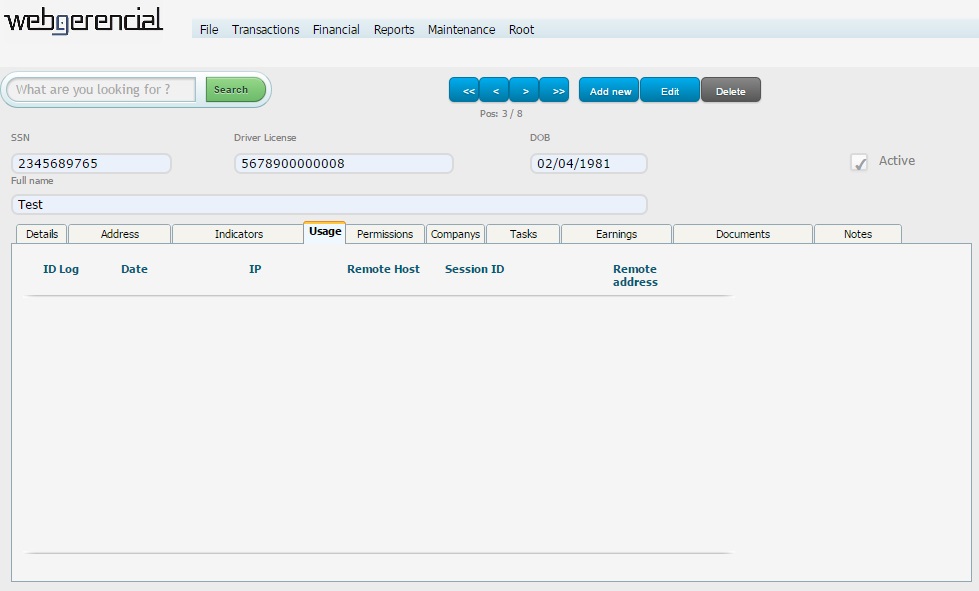
7-At Usage tab you can see a tracking of the user’s access to the system.
This can also be used to control the clockin and clockout of the users.
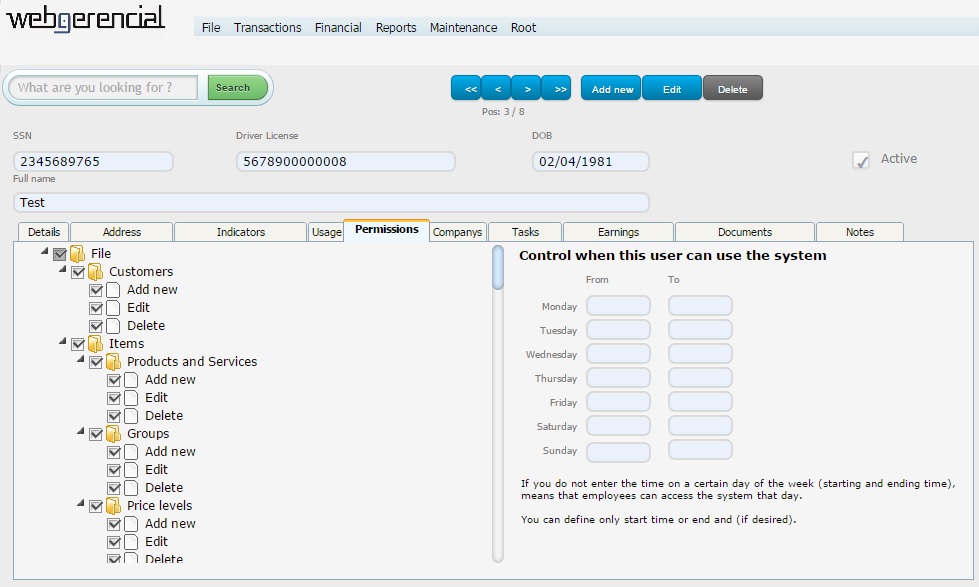
8-At Permissions tab you can check what you want this user to access, and uncheck what you want blocked to this user. It is a safe mecanism to choose what each user can access within the system.
9-At Companys tab you can choose if the user will have access to each available company or not. Click on the desired company and on the pink “EDIT” button to choose.

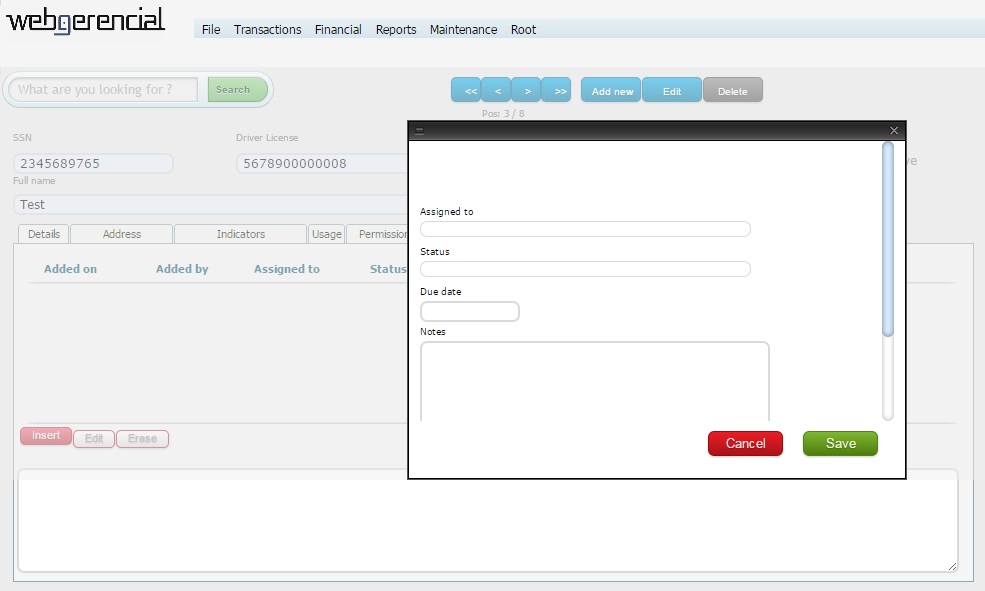
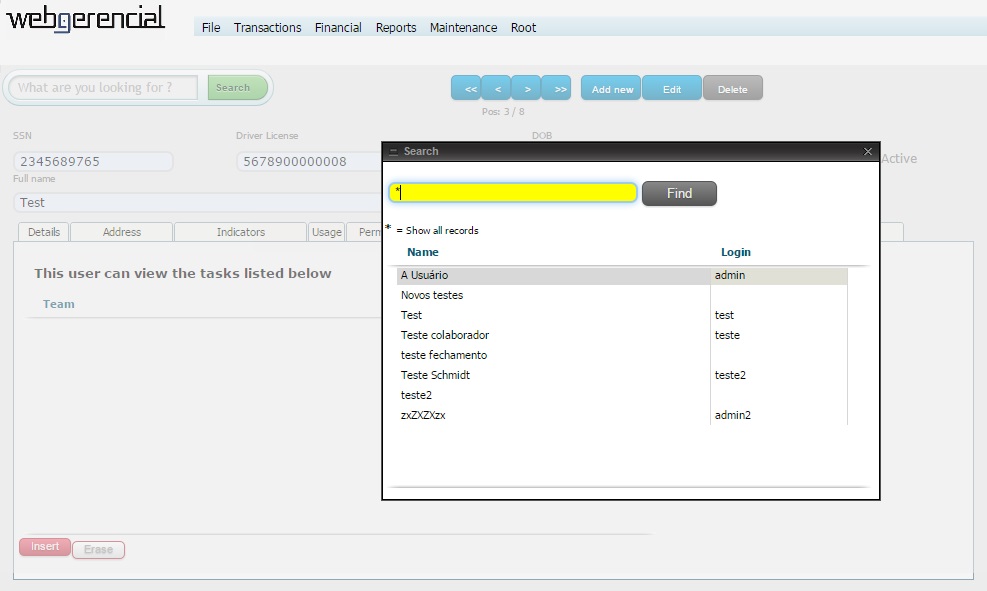
10-At Tasks tab you can select which tasks of other users this user will be observing.
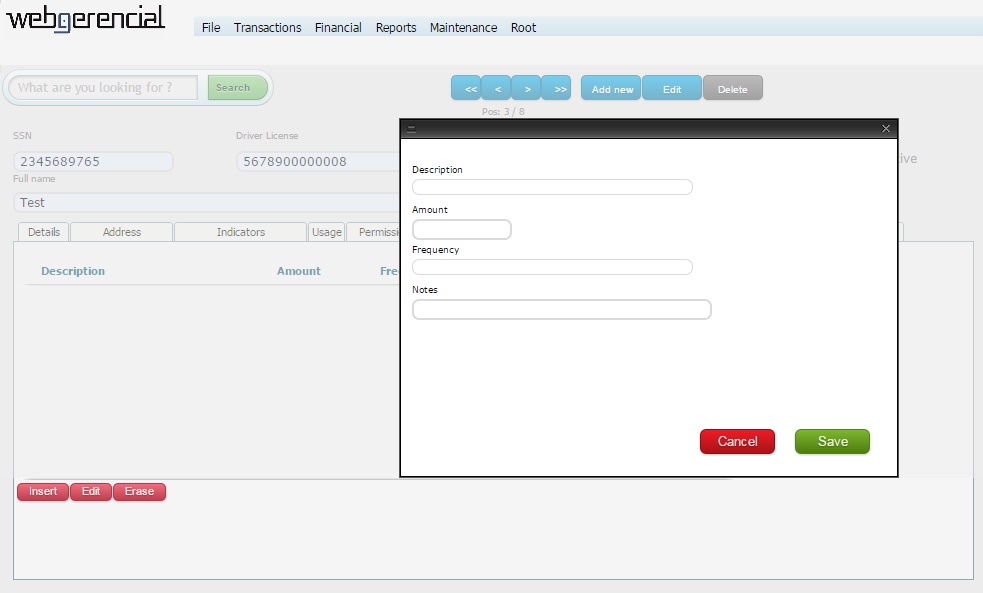
11-At Earnings tab you can define what kind of payment agreement was made with this user.
To add these, click on the pink “INSERT” button. Fill the needed fields and click on the “SAVE” button
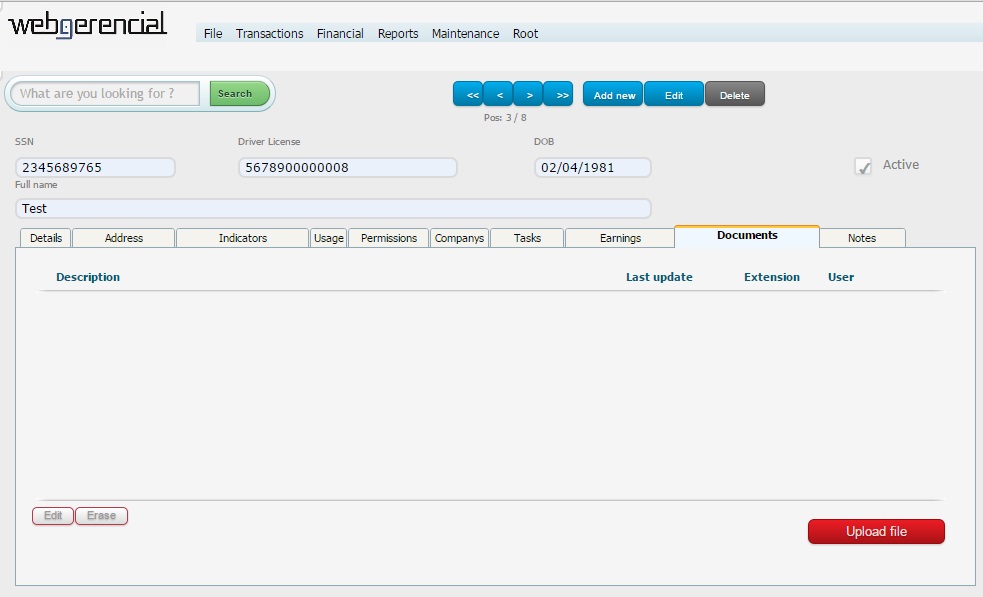
12-At Documents tab you can upload any relevant file regarding this user. Click on the “UPLOAD FILE” button and select the file you need.
13-In the Notes tab you can register any relevant note about this user.
Click on the pink “INSERT” button. Fill the needed fields and click on the “SAVE” button.