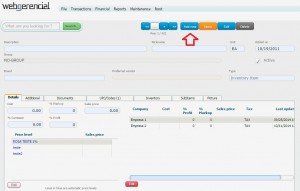
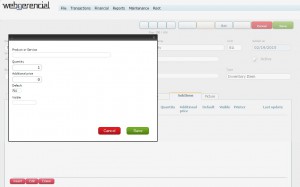
1-Go into File->Items->Products and Services and click on the “ADD NEW” button.
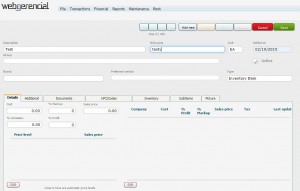
2-Fill all the fields as complete as possible, and select the group this product should be in. Also select if this product will affect inventory when sold or bought. When you finish, click on the “SAVE” button.
Note that if you don’t know how to register a group, you can see a tutorial explaining how to do it by clicking here.
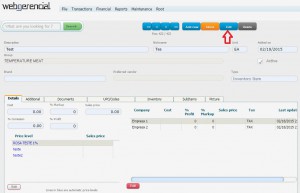
3-After you effectively register the product, you will be able to add more information to your item. To do that click on the “EDIT” button.
3.1-At Details tab you can add any missing information regarding the product’s price, cost and markup. You can also click on the pink Edit button to inform those values to each firm they are being sold or produced for.
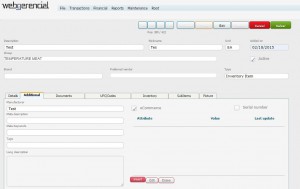
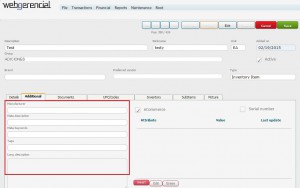
3.2-At Additional tab you can give information about the product’s manufacturer, select if the product will appear at the webstore or not (by checking or unchecking the eCommerce checkbox). If you choose to, then fill all the fields circled below.
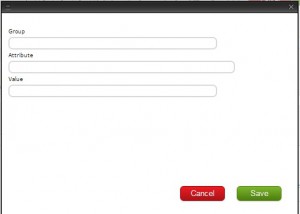
3.3-The right side has the product’s attributes. Please click on the pink “INSERT” button and inform ehich attibute this product have (color, size, model, etc).
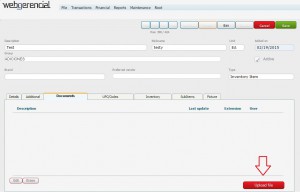
3.4-At Documents tab you can upload any relevant file regarding this product. Click on the “UPLOAD FILE” button and select the file you need.
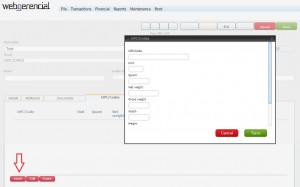
3.5-At UPC/Codes tab you can add a bar code to this product, along with different units such as CRATE (containing x units). To do this click on the pink “INSERT” button, fill the needed fields and click on the “SAVE” button.
3.6-At Inventory tab you can edit the order the inventories will appear. You need to click on the pink “EDIT” button.
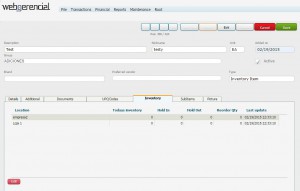
To adjust the inventory, please access the proper page by clicking here
3.7-At SubItems tab you can create kits by adding other products to be sold togeter as one. You need to click on the pink “INSERT” button, select the products you want and make the necessary changes (price, how many units, etc).
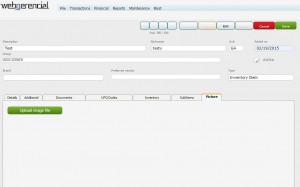
3.7-At Picture tab you can upload a picture of the product for it to appear at the webstore. Click on the “UPLOAD IMAGE FILE” button and select the needed pictute.
Note the option to upload a picture will only be available if you check the eCommerce checkbox in the Additional tab.

